
StoreWALL offers a great range of coloured slatwall panels. In Australia its White Wall Panels are fast becoming the most popular colour. There must be something about the white walls and how big and clean it makes a garage look.
This week we finally received our long awaited wall panel delivery and contacted a client who we had spoken too just prior to Christmas about the installation of StoreWALL in their garage.
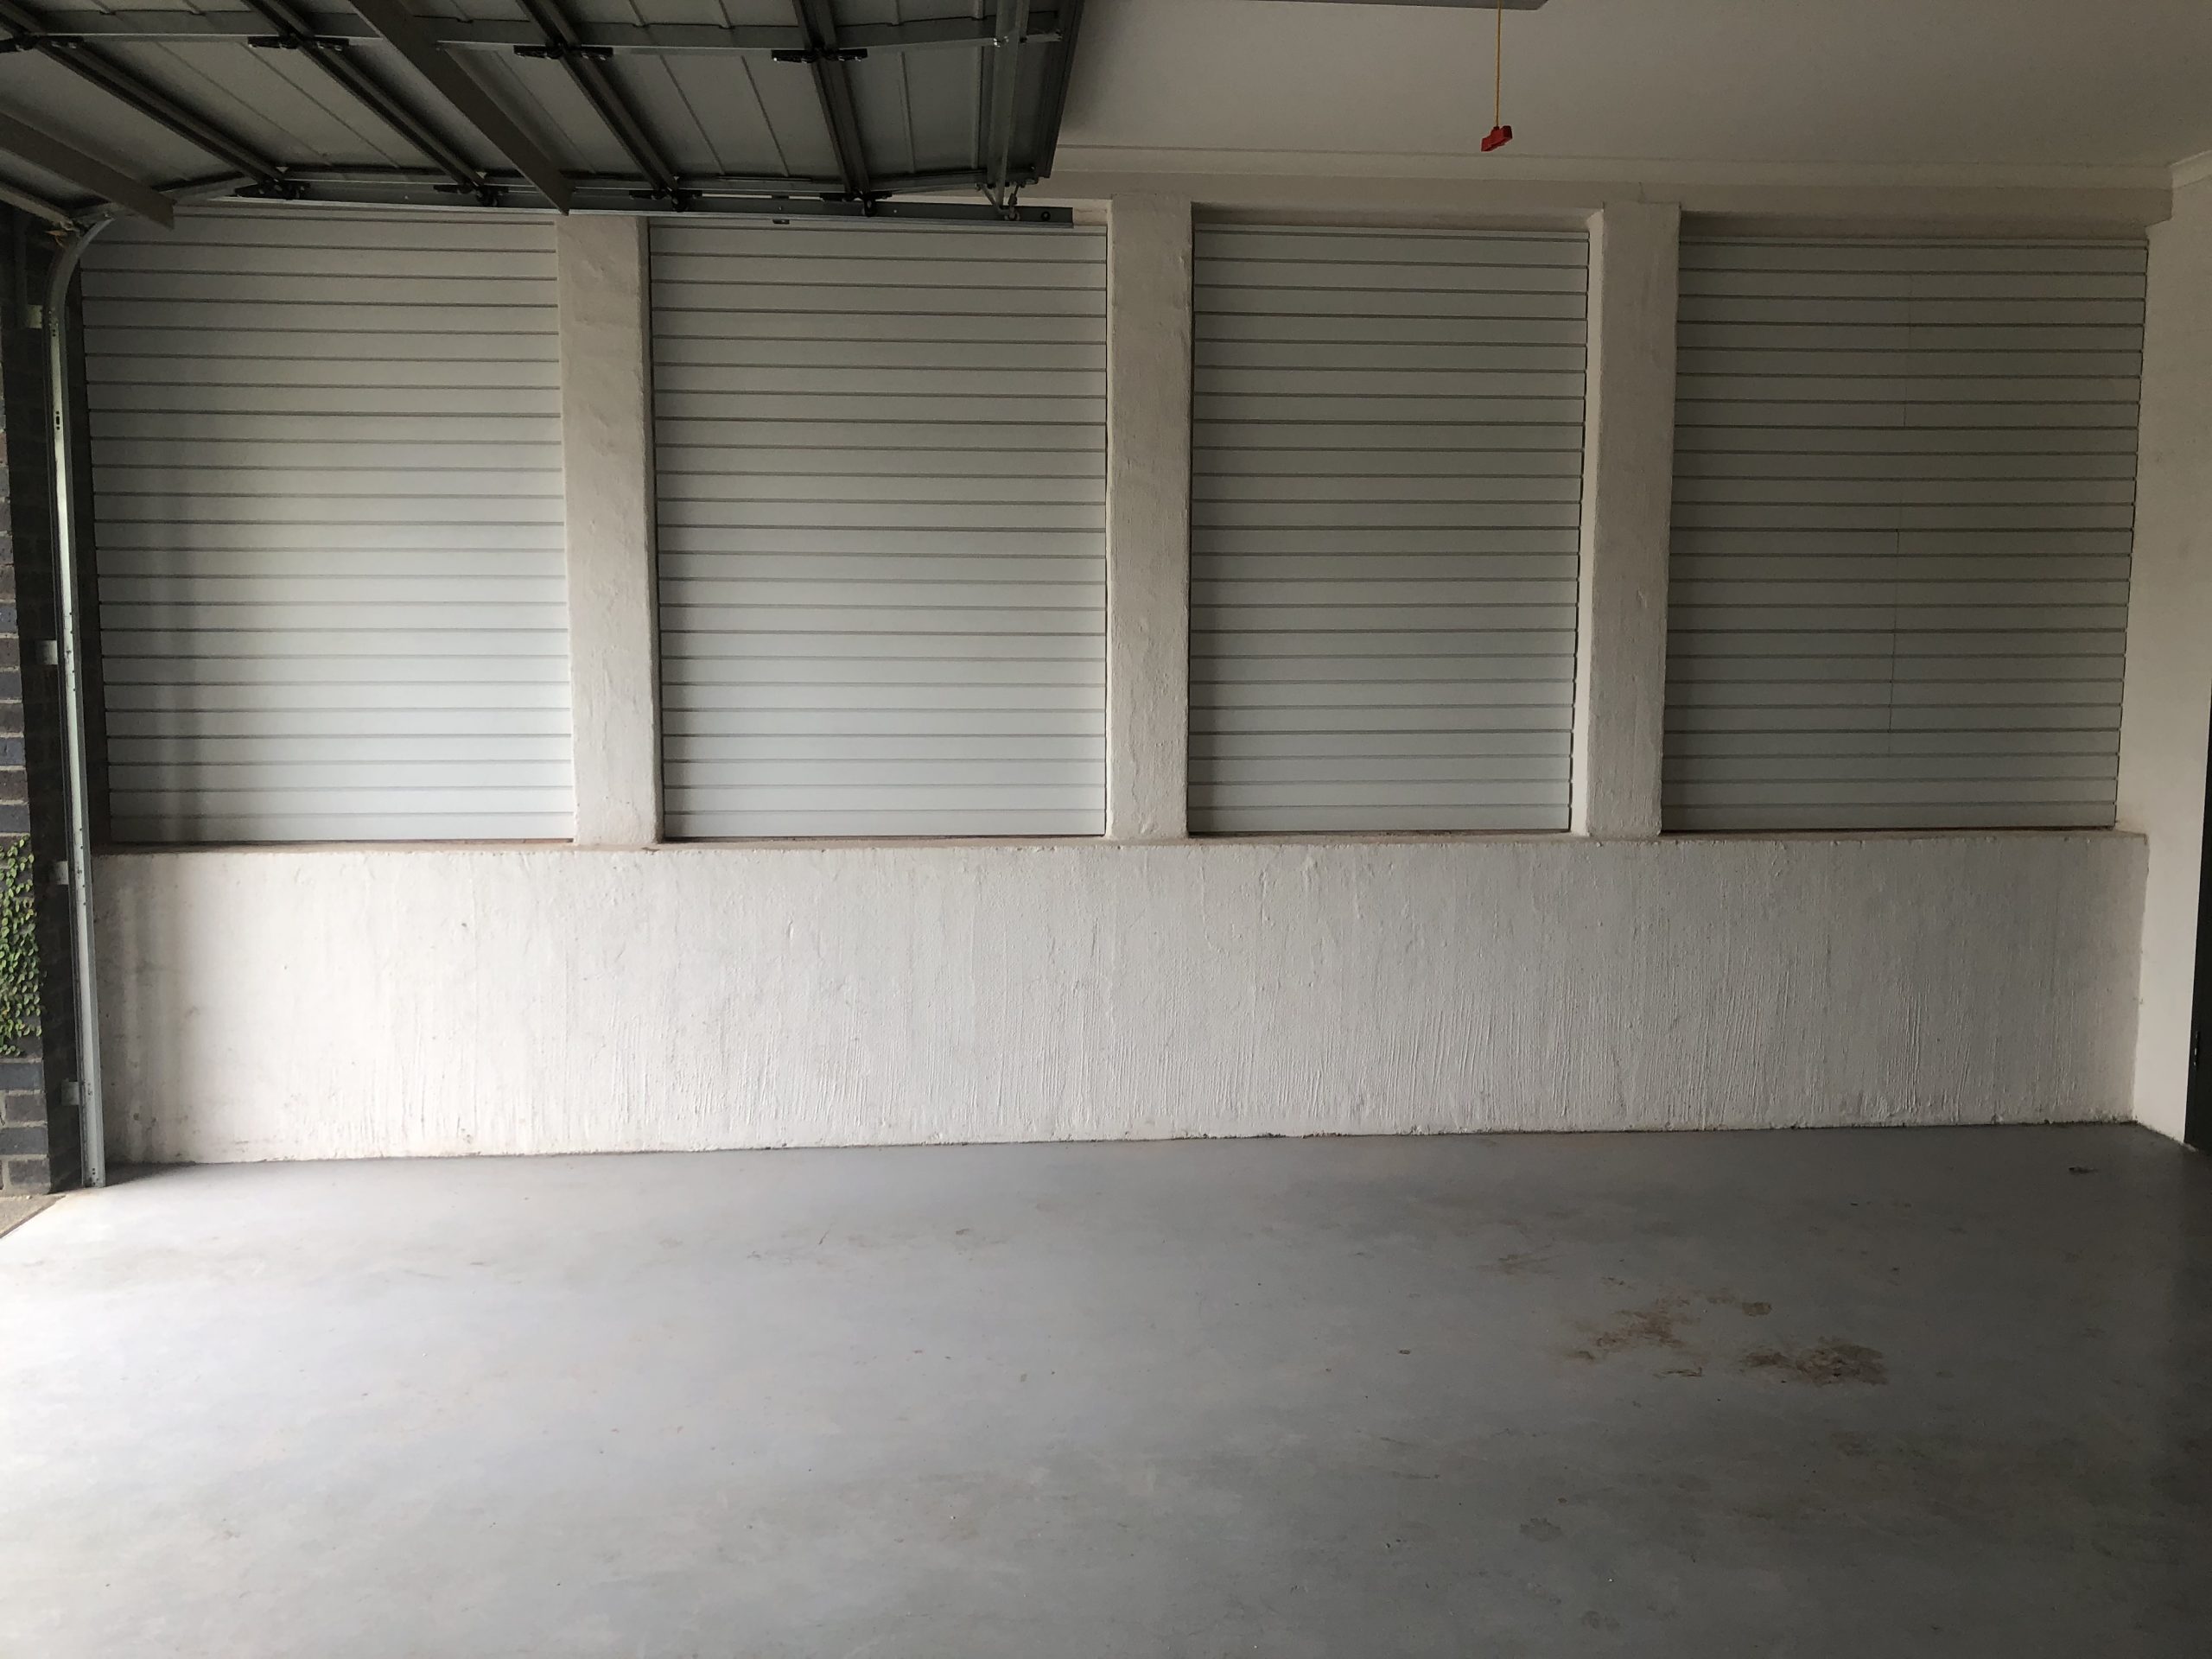
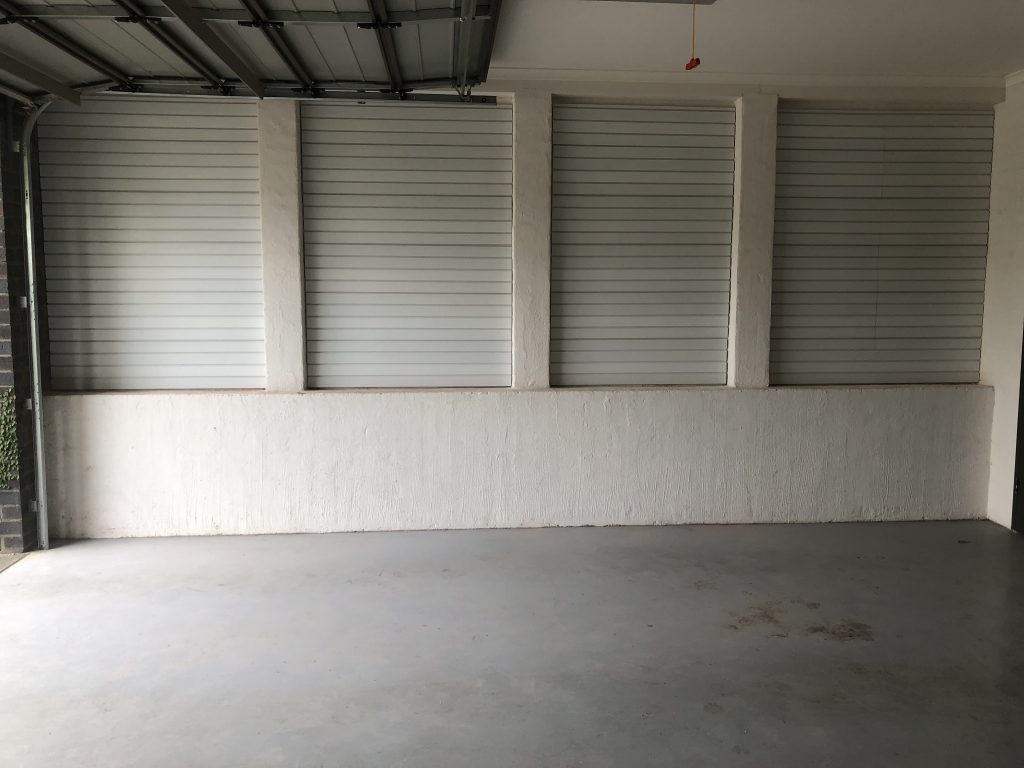
Eliza lives in inner Melbourne in a relatively new home which has a double garage. One wall is made from plaster and the other is a brick wall. I have a picture below. The brick wall was the one that needed the attention. Whilst it has a nice ledge to sit things on, it was rather useless in everything else when it comes to storage. With a growing family Eliza was going to need storage.
White Wall Panels
The measurements of the 4 wall sections seen above are:
- 1300w x 1840h
- 1300w x 1840h
- 1180w x 1840h
- 1470w x 1840h
The wall was made from solid brick (more on this below). I am quite sure most of it red brick.
Eliza wanted to install slatwalls on all 4 sections covering all of the wall (or as much as possible). This would enable her to have significantly more storage capacity which could be used to hang things using hooks as well baskets and shelves.
With a white wall, the Brite White StoreWALL panels where a great colour match. The end result justifies the selection. Although I also think that some contrast with a Weathered Grey would also have worked well.
InstallStrips
The most effective way to install StoreWALL panels on a brick wall is to use our InstallStrips. It not only strengthens the installation to allow you to hang more on your wall but also makes installation a lot quicker and easier.
These white rendered walls were made from solid red bricks. Not the grey brick blocks many modern homes are made from these days. Being solid meant that drilling right through required a hammer drill with the correct drill bits.
I actually needed reinforcements when trying to drill through these bricks and had my brother-in-law (Electrician) drop off his hammer drill because mine wasn’t cutting through the brick.
Levelling
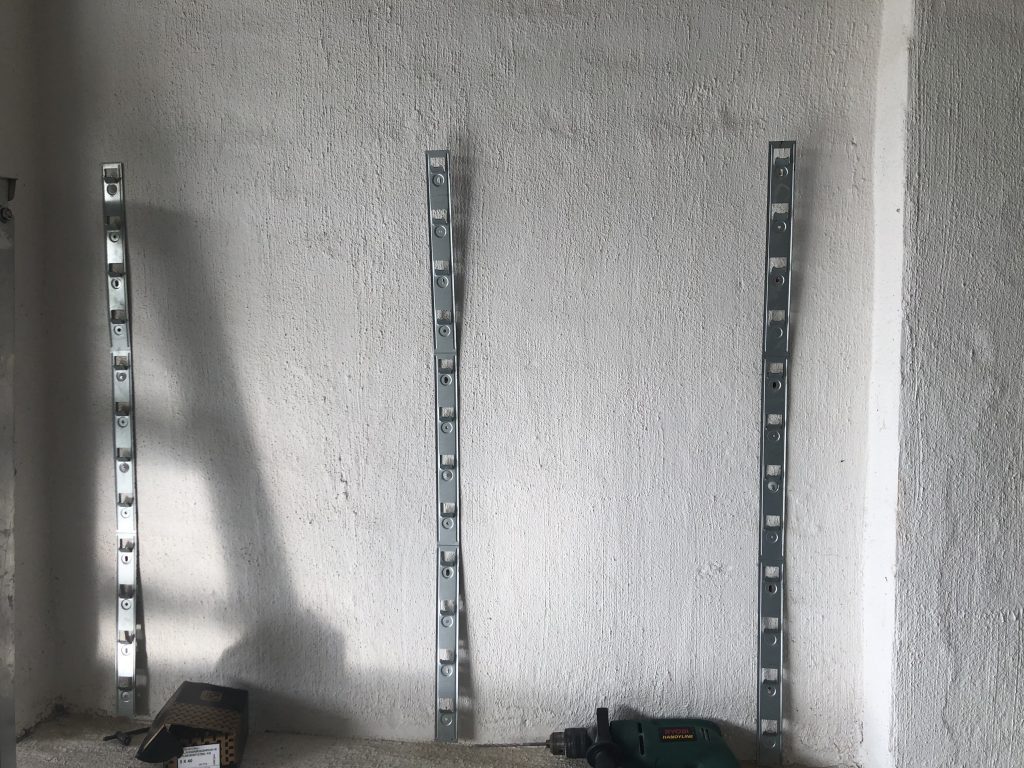
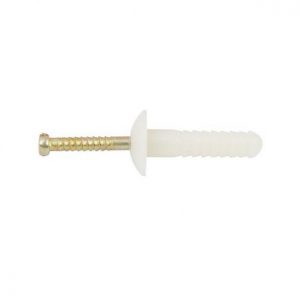
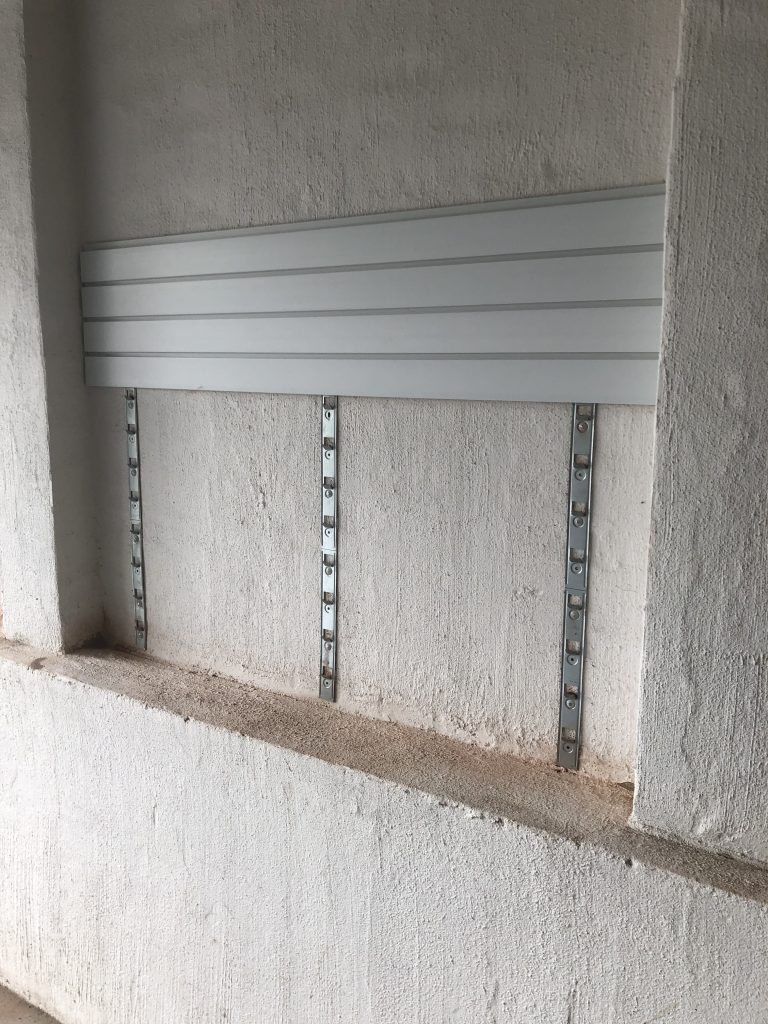
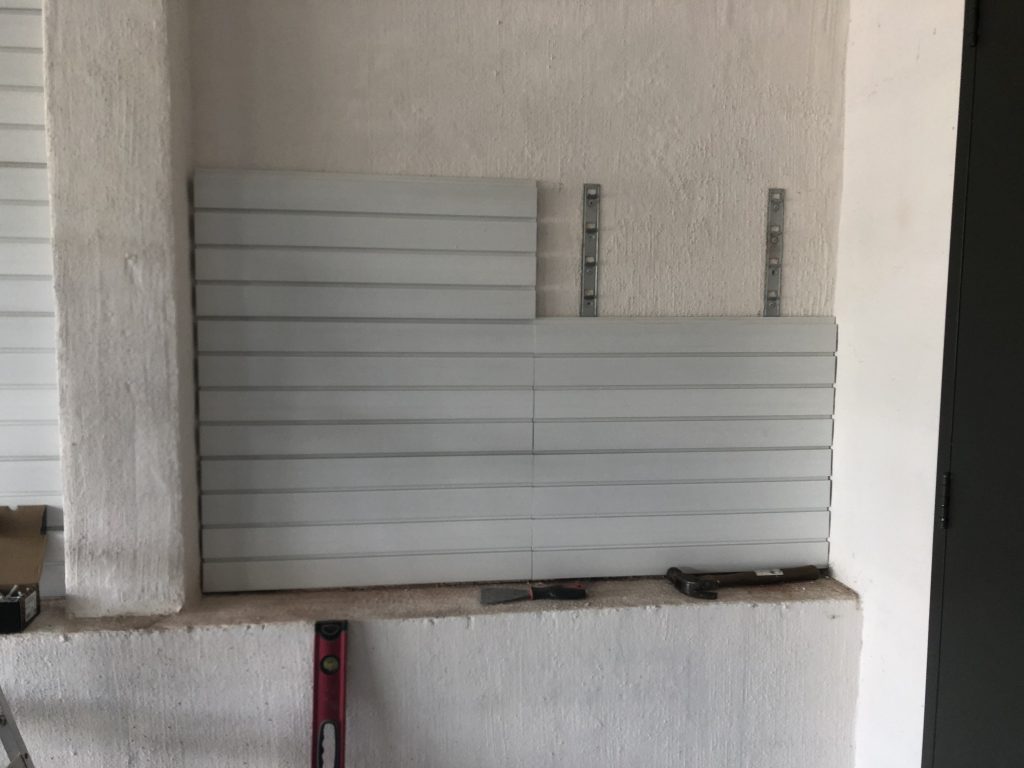
We placed the installStrips about 10cm in from the outer edge of each wall section and then added a 3rd installstrip in the middle of the section. Starting with my first InstallStrip, I checked it to ensure it was Vertically level. I then used a Mushroom Nail Anchor to fix it to the wall (see image below). These are hammered in. Once the first one is in you can complete the rest ensuring the InstallStrip remains (Vertically) level.
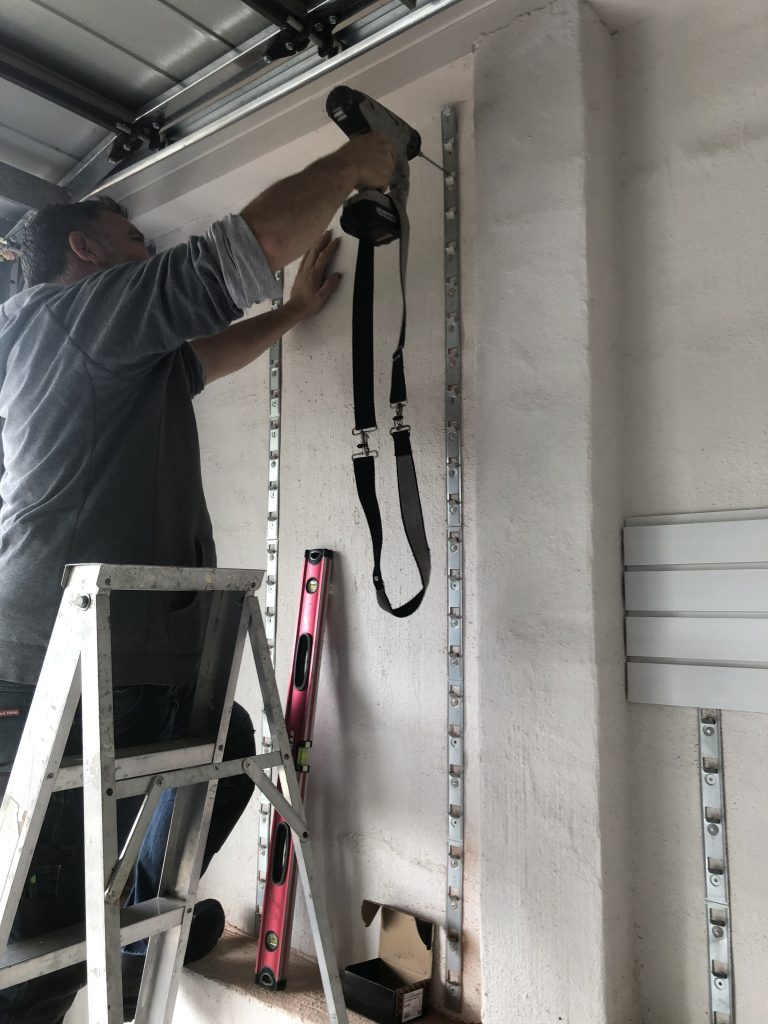
I then moved onto my 2nd InstallStrip (within the same section). I repeated the same process checking for Vertical Level, but this time I also checked for Horizontal Level. I used a standard Spirit level for this placing it across the two InstallStrips. Depending on the length of your wall, you can also check the Horizontal level using a White Wall Panel.
Cutting White SlatWall Panels
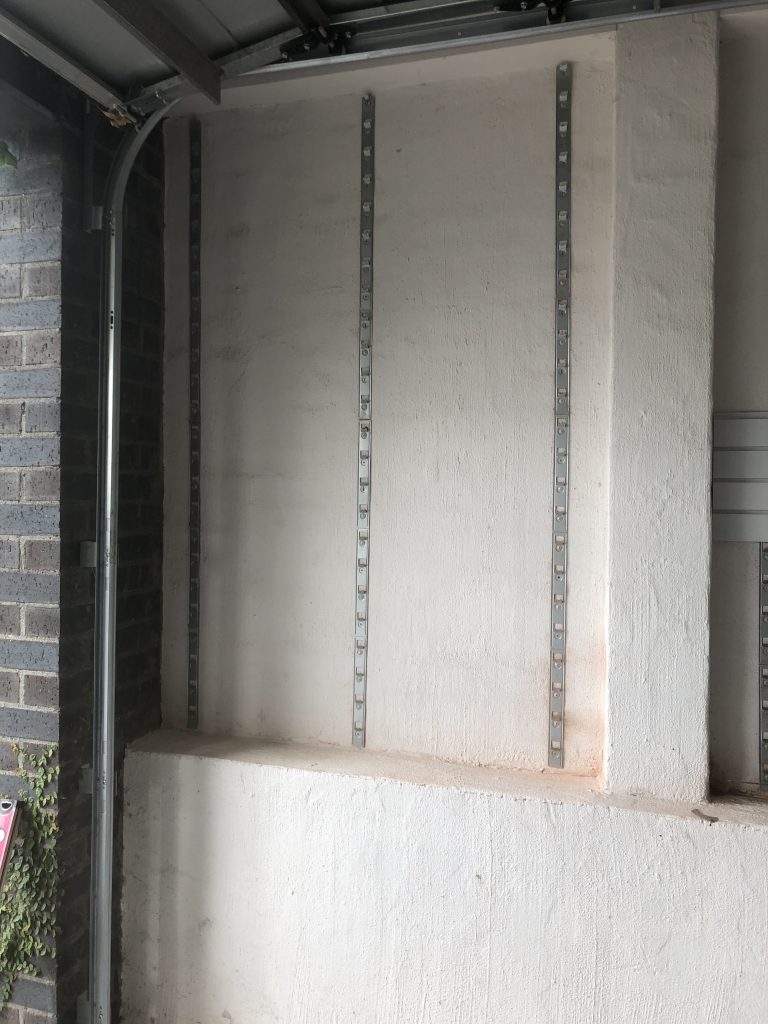
In the first three wall sections I used 3 InstallStrips at the bottom and 3 at the top for each section (total of 6). Once these were done, I then moved onto to cutting my panels.
We cut the panels for the first 2 sections at 1300mm. Once we had our first three panels on we then moved up to the top half of the section.
The gap between the bottom InstallStrip and the top one needs to be about 2mm. The process I use to get to the right spacing is to add my the 4th panel onto of the 3rd and to then loosely slip the InstallStrip behind it. (Ensure the panels are sitting on top of each other correctly.) I then adjust the tension until I know the 4th panel and its InstallStrip are firmly gripping each other. Once in place I use an anchor to fasten the InstallStrip to the wall.
This process is repeated for the remaining InstallStrips on the 2nd level. In this case there are 3 on the 1st level and 3 on the 2nd.
Trimming InstallStrips
You will notice above that the InstallStrips are touching the roof of the brick wall. Looks OK? Not really. With this wall we ran into trouble trying to fit the top panel. We had no clearance at the top nor from either side due to the brick piers. Notice below that the InstallStrips have been cut. We trimmed the top section of the InstallStrip with a grinder (you can also use metal cutting scissors).
With a shorter top InstallStrip we were also required ti trimmed our top panel. We decided to cut them horizontally using a circular saw and a guide. In this case we trimmed the top groove off allowing for 8mm clearance to the top of the wall. If the piers were not there we could have reduced the amount we cut and slid the top panel in from the side.
Finishing Off
The first three sections where very similar in size and so we were able to work through these pretty efficiently .
When we arrived at the final section which was the largest it got a little more complicated. In order to save the client some money and reduce wastage, we used the off cuts from the first 2 sections to complete the final wall.
Each of the first two sections had 6 panels each. Which resulted in 12 offcuts at 1100mm. The final section had a width of 1470mm. We installed a total of 8 installstrips (4 at the bottom and 4 at the top, see below) and two white wall panels for each row at about 735mm each.
Alternative Approach
An alternative way to have managed this installation was to have used 1200mm panels in each of the sections and just centred them. It would have meant a gap around the outer edge of each section but no cuts. In terms of cost, it would have also been slightly cheaper.
Personally I think what we went with worked the best and you have a fully covered wall with no gaps which can be used in many ways.
Final Outcome
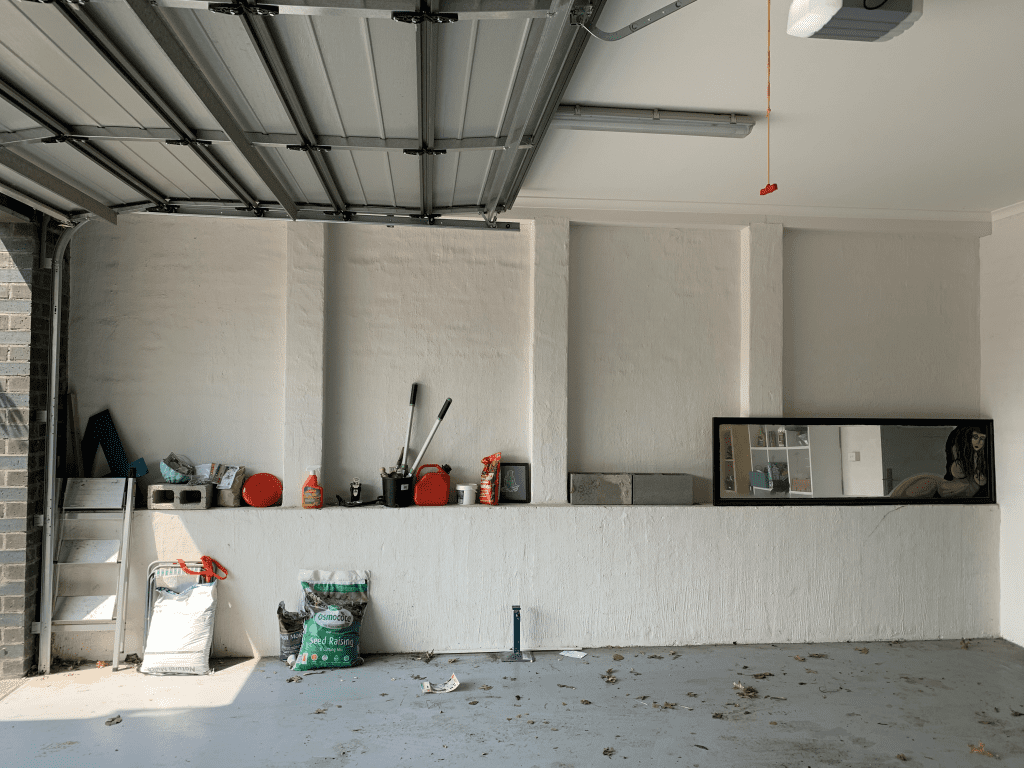
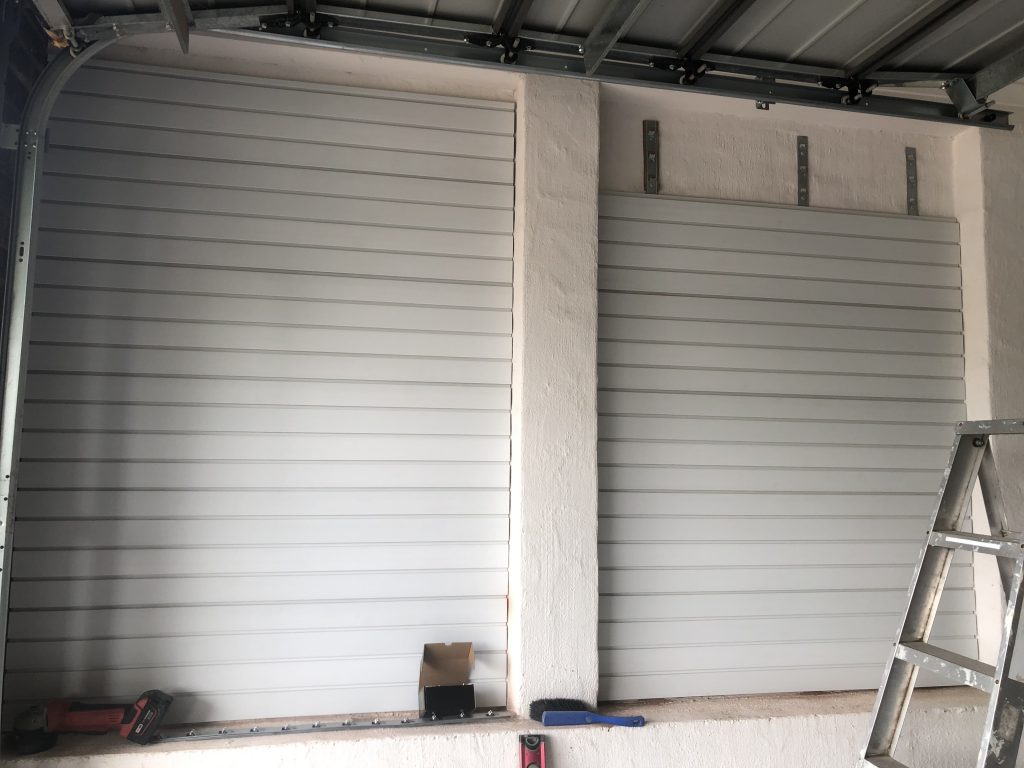
The final result looks like this, which we were all very happy with.
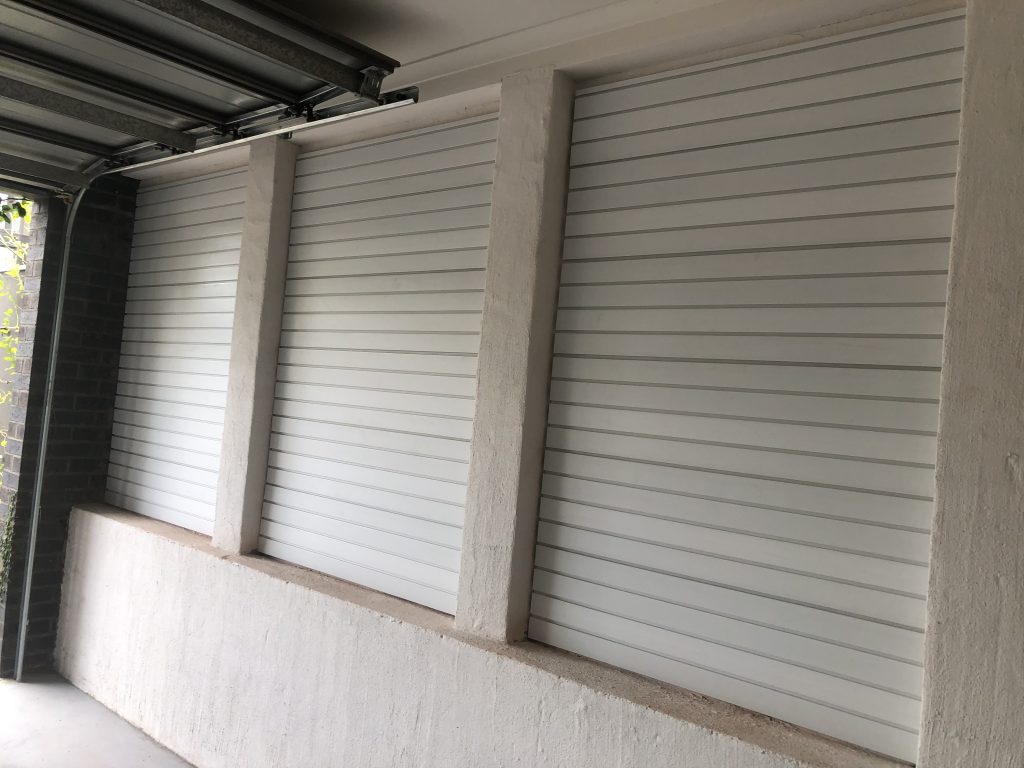
The client has already started adding accessories to the wall and begun removing some of the “stuff” off the garage floor.
Being a garage so close to the road and left open for part of the day, I advised the client that dust would build up and with white slatwall panels the occasional hose down might be required and would be perfectly fine.