How to Install StoreWALL Panels on a Brick Garage Wall — Complete Guide
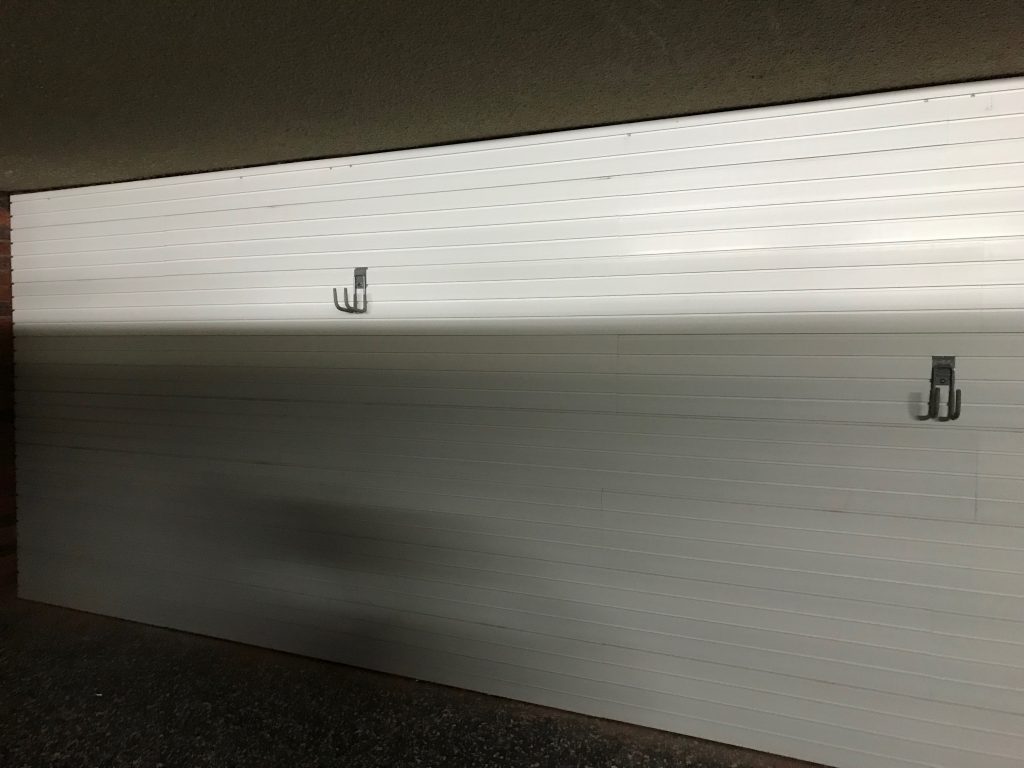
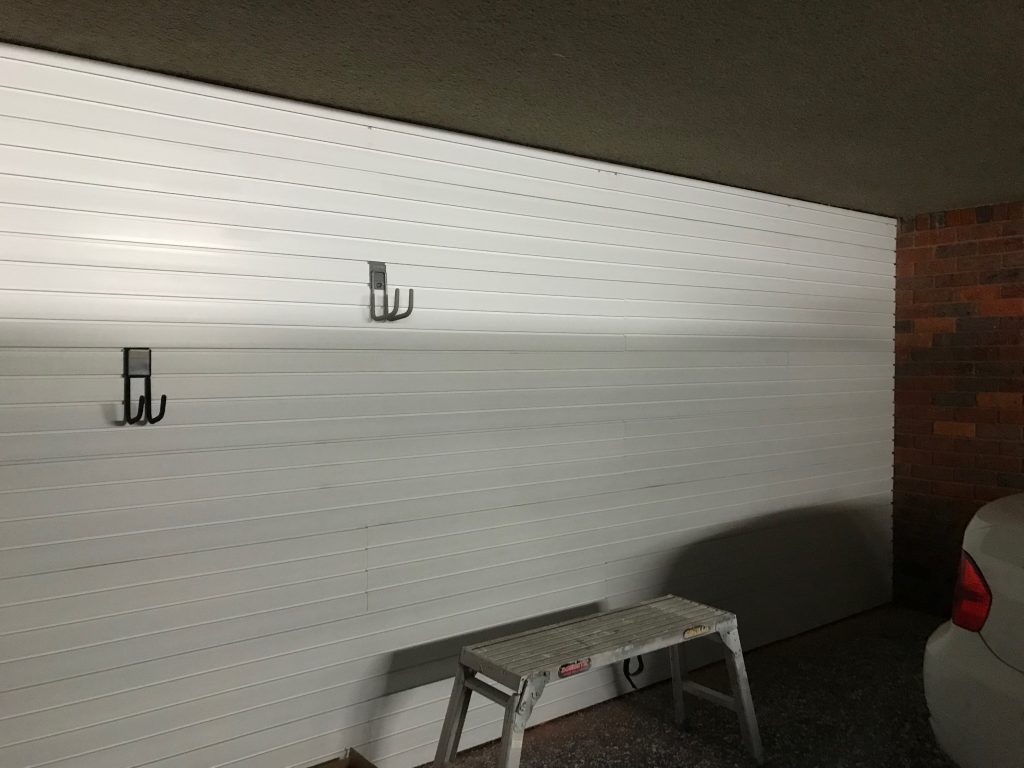
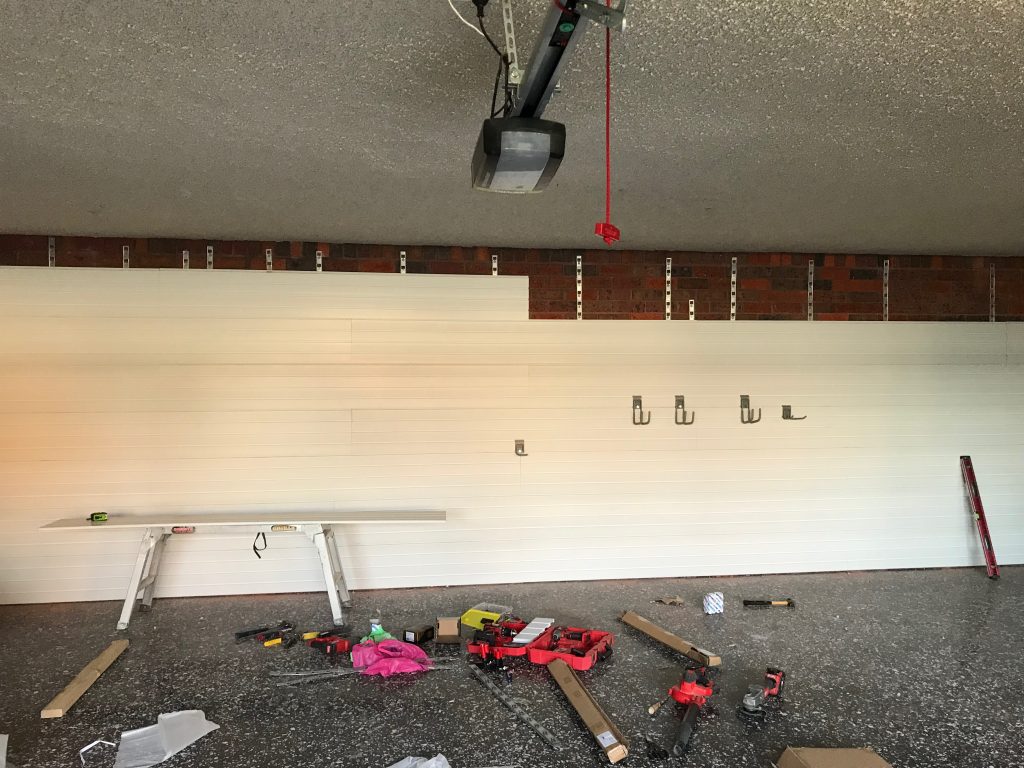
Brick walls are completely compatible with StoreWALL — the technique is straightforward, but it’s different enough from a plasterboard installation that it’s worth understanding before you start. This guide documents a real 9m × 2.5m brick wall installation in Melbourne’s eastern suburbs and covers everything from tools and materials through to the levelling approach that makes brick work cleanly.
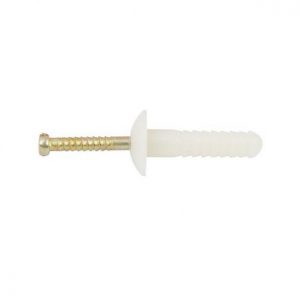
The short version: instead of screwing InstallStrips into timber studs, you drill into the brick with a hammer drill and use nylon mushroom anchors to fix the strips to the wall. The rest of the installation — panels clicking onto InstallStrips, accessories locking with CamLok — is identical to any other wall type.
Tools and Materials
Brick is harder on drill bits and more time-consuming than plasterboard — having the right tools from the start matters more on a brick wall than any other surface.
|
Item |
Spec / note |
|
TOOLS — Essential |
|
|
Hammer drill |
Non-negotiable for brick. A standard drill will not drive masonry anchors reliably into solid brick. Corded preferred for extended drilling sessions. |
|
Masonry drill bit — 5mm × 150mm |
150mm length gives clearance for the depth of the drill chuck. Buy at least 2 — brick dulls bits quickly and a broken bit mid-job stops the whole process. |
|
Spirit level (600mm minimum) |
For checking each InstallStrip vertically and horizontally. A longer level (1200mm) makes spanning across multiple strips faster and more accurate. |
|
Pencil or chalk line |
For marking InstallStrip positions and horizontal reference lines across the wall. |
|
Tape measure |
For measuring InstallStrip spacing, panel positioning, and cut dimensions. |
|
TOOLS — Optional but useful |
|
|
Laser level |
Projects a horizontal reference line across the full wall — eliminates the need to mark and re-check each InstallStrip individually. Particularly useful on walls longer than 3m. |
|
Circular saw + straight-edge guide |
For cutting panels vertically (across the width) or horizontally (along the length). Fine-tooth blade gives the cleanest cut. Multi-tool works well for smaller cuts. |
|
Stiff spatula or flat bar |
For lifting an InstallStrip off the wall if you need to reposition after anchors are placed. Saves drilling new holes. |
|
MATERIALS — Order with your panels |
|
|
Minimum 10 per InstallStrip. Order from our store or Bunnings. Ramset and similar brands all work. Calculate: number of InstallStrips × 10 = anchors needed. |
|
|
Thin packers / cardboard shims |
For levelling InstallStrips on uneven brick. Cardboard offcuts from StoreWALL packaging work perfectly — save these when you open your order. |
|
InstallStrips (SD or HD) |
1 × Standard Duty InstallStrip per 1.2m panel, 2 per 2.4m panel. Confirm your panel type — SD and HD InstallStrips are not interchangeable. |

How Many InstallStrips Do You Need?
The formula is the same as for any StoreWALL installation:
- 1 × Standard Duty InstallStrip per 1.2m panel
- 2 × Standard Duty InstallStrips per 2.4m panel — one at each end, one in the middle
- For a 1.2m carton (4 panels): order 4 InstallStrips
- For a 2.4m carton (4 panels): order 8 InstallStrips
The wall documented in this guide was 9.5m × 2.35m — approximately 22sqm total. That used 24 InstallStrips and 240+ nylon anchors. For your wall, multiply the number of InstallStrips by 10 to get your anchor count, then add 20% as a buffer for re-drills and any that go into mortar rather than brick.
Tip: Send us your wall dimensions and we’ll confirm the exact materials list. No cost, usually done within a business day. Call 0411 280 646 or email [email protected].
What Makes Brick Different — and What to Expect
Three things make a brick wall installation more involved than a plasterboard wall:
First, drilling into solid brick takes significantly more time and effort than drilling into timber. A hammer drill is not optional — a standard rotary drill will not drive masonry anchors reliably, and on older hard red brick you’ll go through drill bits faster than expected. Budget for two bits minimum.
 Second, brick walls are almost never perfectly flat. Individual bricks protrude or recess slightly relative to their neighbours, and mortar joints create a textured surface. This means InstallStrips may need shimming (packing) at one or more points to sit plumb and allow the panels to click on cleanly. This is the technique that makes brick take roughly twice as long as plasterboard — it’s not difficult, but it requires patience.
Third, avoid drilling into mortar joints if you can. Mortar is softer and crumbles more easily than brick, giving anchors a weaker grip. Aim for the centre of each brick face. If you find you are hitting too much mortar you can use large nail anchors ie 6.5mm × 50mm at these points for a more secure bite.
⚠ Drill in short bursts on the hardest red brick — long continuous drilling overheats the bit and reduces its effective life. Dip in water between holes if the bit becomes very hot.
Step-by-Step Installation
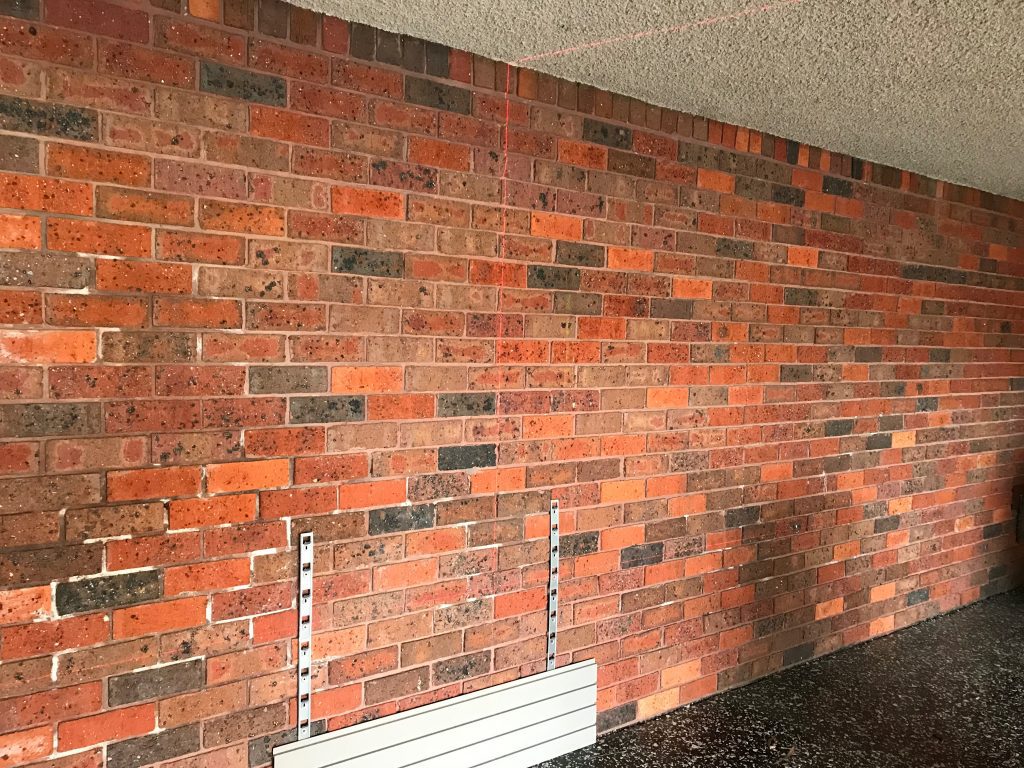
Step 1 — Mark your starting position
Decide where the first column of InstallStrips will sit. On the 9m wall, we started approximately 200mm from the left end. On smaller walls you can go closer — as little as 50–100mm from the edge if you’re fitting around a door or a corner.
Mark a vertical reference line at this position using a spirit level and pencil. This becomes your alignment reference for the first InstallStrip in each row.
Step 2 — Position your first InstallStrip and mark the holes
Hold the first InstallStrip against the wall at your reference line. Use the spirit level to confirm it is perfectly vertical. With the InstallStrip held in position, mark the drill hole locations through the pre-drilled holes onto the brick.
Start with the slotted (elongated) holes — these allow you to adjust the strip up or down slightly after the first anchors are placed, which is essential for levelling across the full wall.
Tip: Don’t drill all holes in one strip at once. Drill just 2–3 to start — enough to hold the strip against the wall for the levelling check in Step 4.
Step 3 — Drill the first holes and tap in anchors
Drill into the brick face — not into mortar if you can avoid it. Drill to approximately 45mm depth. Clean any dust from the hole with a quick burst of compressed air or a puff of breath, then tap the nylon anchor (not the nail) in with a hammer until the mushroom head is flush with the brick surface.
Fix the InstallStrip loosely with the plastic insert first — this lets you adjust position before the anchor is fully engaged. Don’t hammer the nail part yet.
Step 4 — Check level and test the claw connection
This step is the critical difference on a brick wall. Before drilling any more holes:
- Hold a panel and click it onto the InstallStrip
- Check the panel horizontally with a spirit level
- Check the InstallStrip is sitting flush against the wall — no gap at the top or bottom of the strip
- Check that the strip claws are gripping the panel firmly — there should be no rocking or movement once the panel is on
If the panel isn’t level: the InstallStrip needs packing. Slide a thin piece of cardboard behind the strip at the point where it’s sitting low — typically where a brick protrudes slightly. Recheck with the panel in place. This may need to be done more than once to dial in the level.
Tip: The cardboard offcuts from StoreWALL packaging are the perfect thickness for this. Save every piece when you open your order.
⚠ Do not skip this check. An InstallStrip that looks level against the wall but doesn’t grip the panel properly will cause alignment problems across the entire installation. Check each strip before committing all anchors.
Step 5 — Fully anchor the first InstallStrip
Once you’re satisfied the strip is level and gripping cleanly, drill any remaining holes and hammer all anchors home. The installstrips should be sitting firmly against the brick — no flex or movement when you push against it.
The location of your installstrips is determined by you. You should aim at 450mm – 600mm intervals between installstrips.
Step 6 — Set the next InstallStrip in the row
Move to the second anchor point on the wall. This can be 450mm from the first or if using a long spirit level 900mm from the first installstrip. Use a long spirit level or laser level to confirm it is at exactly the same height as the first strip. This two-point reference controls the level of every strip between them.
Step 7 — Complete the rest of the InstallStrips
With the first and second strips set and confirmed level, add the remaining strips at even spacing (450mm – 600mm). Each middle strip should be:
- Positioned so its claws align with the first and last strip (use a panel spanning two strips as your alignment check)
- Packed if needed at any point where the brick face is uneven
- Fully anchored once level confirmed
On the 9m wall, we spaced strips approximately every 600mm — 6 strips across each 2.4m panel section. This gives 3 points of support per 1.2m panel and 6 per 2.4m panel.
Step 8 — Repeat for upper rows
Once the first row of InstallStrips is in and all panels are clicking on cleanly, move to the second row. The upper row of InstallStrips should meet the top of the lower row — the bottom edge of the upper strip aligns with the top edge of the lower strip (they butt together, they don’t overlap).
The most reliable way to level the upper row is to place an upper InstallStrip against the wall with its bottom touching the top of the lower strip. Use this physical reference rather than measuring up from the floor — your floor may not be perfectly level.
Tip: Check the tongue-and-groove connection between rows when adding panels. The bottom groove of the upper panel should click cleanly into the top groove of the lower panel. If it’s not engaging easily, the upper InstallStrips may need minor adjustment.
Step 9 — Cut panels to fit ends and top
Vertical cuts (trimming panel width at wall ends): use a drop saw or a circular saw. Mark the cut line and cut in a single pass. A fine-tooth blade gives the cleanest edge.
Horizontal cuts (trimming panel height at the top row): measure carefully. You need to leave 10–12mm clearance between the top of the panel and the ceiling or soffitt — enough to angle the panel in and click it onto the InstallStrip without it jamming.
For tight spaces or smaller cuts: a multi-tool with a fine blade is faster and more controllable than a circular saw.
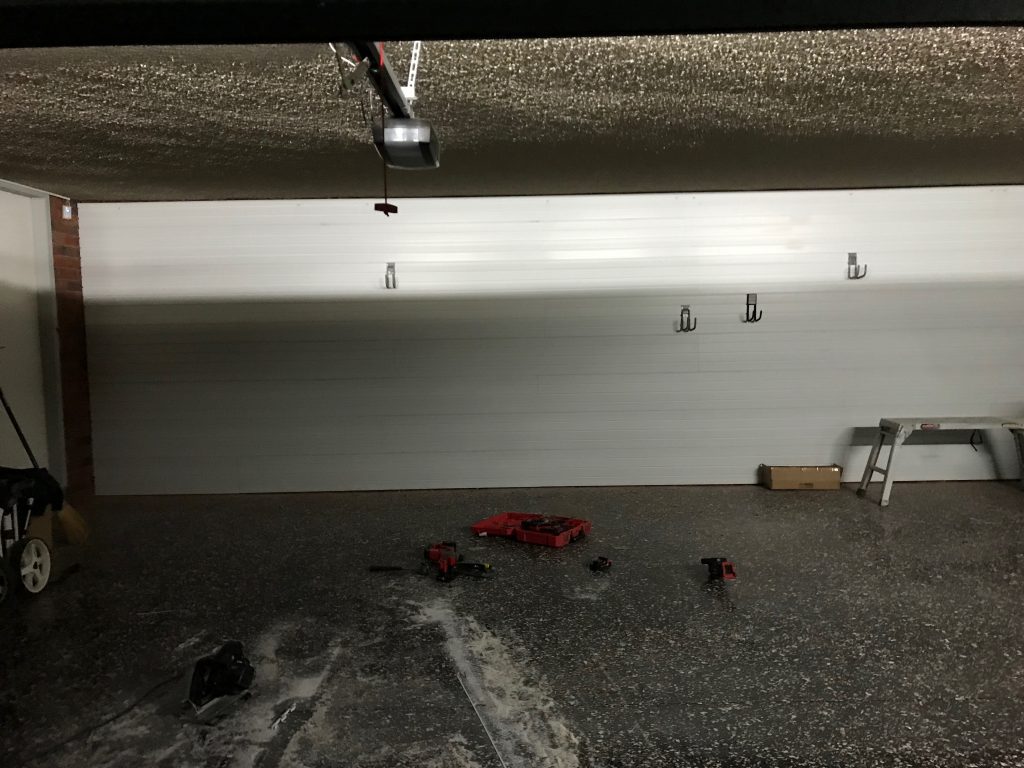
How Long Does a Brick Wall Installation Take?
The 9m × 2.5m wall documented here took two people a full day — roughly 8 hours of active installation time. A standard single garage back wall (3m × 2.1m) would typically take one person with a helper 4–6 hours, including setup and cleanup.
The main time difference compared to a plasterboard wall is in the drilling and levelling — each InstallStrip takes longer to position, drill, anchor, and check on brick. Budget approximately double the time of an equivalent plasterboard installation.
If you’re hiring a carpenter or handyman, the standard reference is: a 3m × 2.4m plasterboard wall takes 4–5 hours solo. For brick, allow 6–8 hours for the same area. Handymen and carpenters typically charge from $50–$80/hr depending on your city.

Common Brick Wall Installation Questions
Should I drill into brick or mortar?
Brick wherever possible. Mortar is softer and crumbles more readily, giving anchors a weaker grip. Aim for the centre of each brick face. If a hole position lands on mortar, either shift the InstallStrip slightly to hit the brick, or use a 6.5mm × 50mm anchor for a stronger bite in the softer material.
What if my brick wall is severely uneven?
Most brick walls have minor irregularities that packers handle easily. A very uneven wall — where some bricks protrude more than 5–8mm relative to others — can be managed with thicker packing, but at some point it becomes more practical to batten the wall first (timber or steel battens fixed to the brick to create a flat surface) and install InstallStrips into the battens. See our battening guide for when this approach makes sense.
Can I install on a rendered brick wall?
Yes. Rendered brick is generally easier than bare brick because the render surface is more consistent. The drilling process is the same — drill through the render into the brick beneath. Anchors grip both the render and the brick. See our rendered brick wall installation for a specific example.
Do I need a professional installer for a brick wall?
A confident DIYer with a hammer drill and a spirit level can complete a brick wall installation without professional help. If you’re not comfortable with a hammer drill or if the wall has significant irregularities, a carpenter or handyman familiar with the process is a reasonable call. We can provide installation guidance to any installer you choose — there’s no requirement to use our recommended installers.
Ready to Order?
If you know your wall dimensions, we can confirm your exact materials list — panels, InstallStrips, anchors, and trims — and provide a delivered price to your postcode. Most quotes are turned around within one business day.
- Call Arthur: 0411 280 646
- Email your dimensions: [email protected]
- Shop panels and InstallStrips directly
- Use our Panel Calculstor
- Request a StoreWALL quote